Contents
show
- Disposable gloves
- Isopropyl alcohol (70% concentration)
- Soft, lint-free cloths or paper towels
- Cleaning brushes or toothbrushes
- Warm water
- Antibacterial soap
- Lubricating oil
Step 1. Wear Gloves
To avoid cross-contamination, always wear disposable gloves when cleaning your machine. This also protects you from coming into contact with any residual ink or blood. Try to change gloves while working with even one client so that they do not wear out or tear.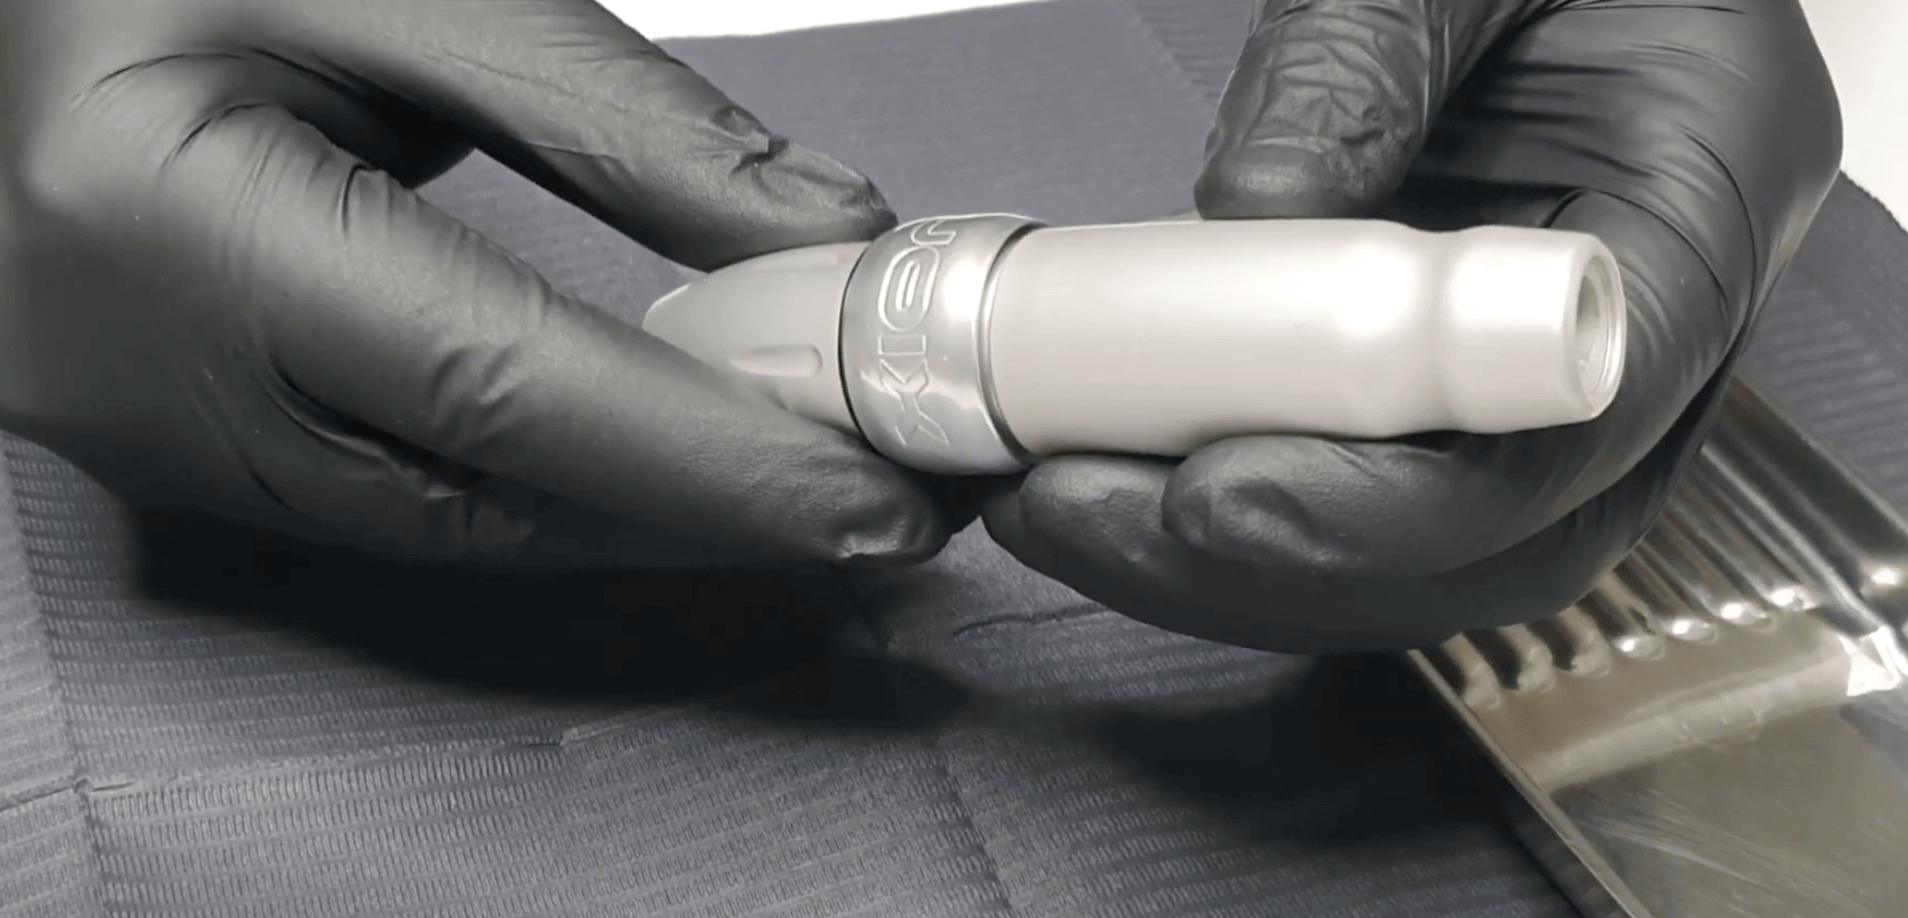
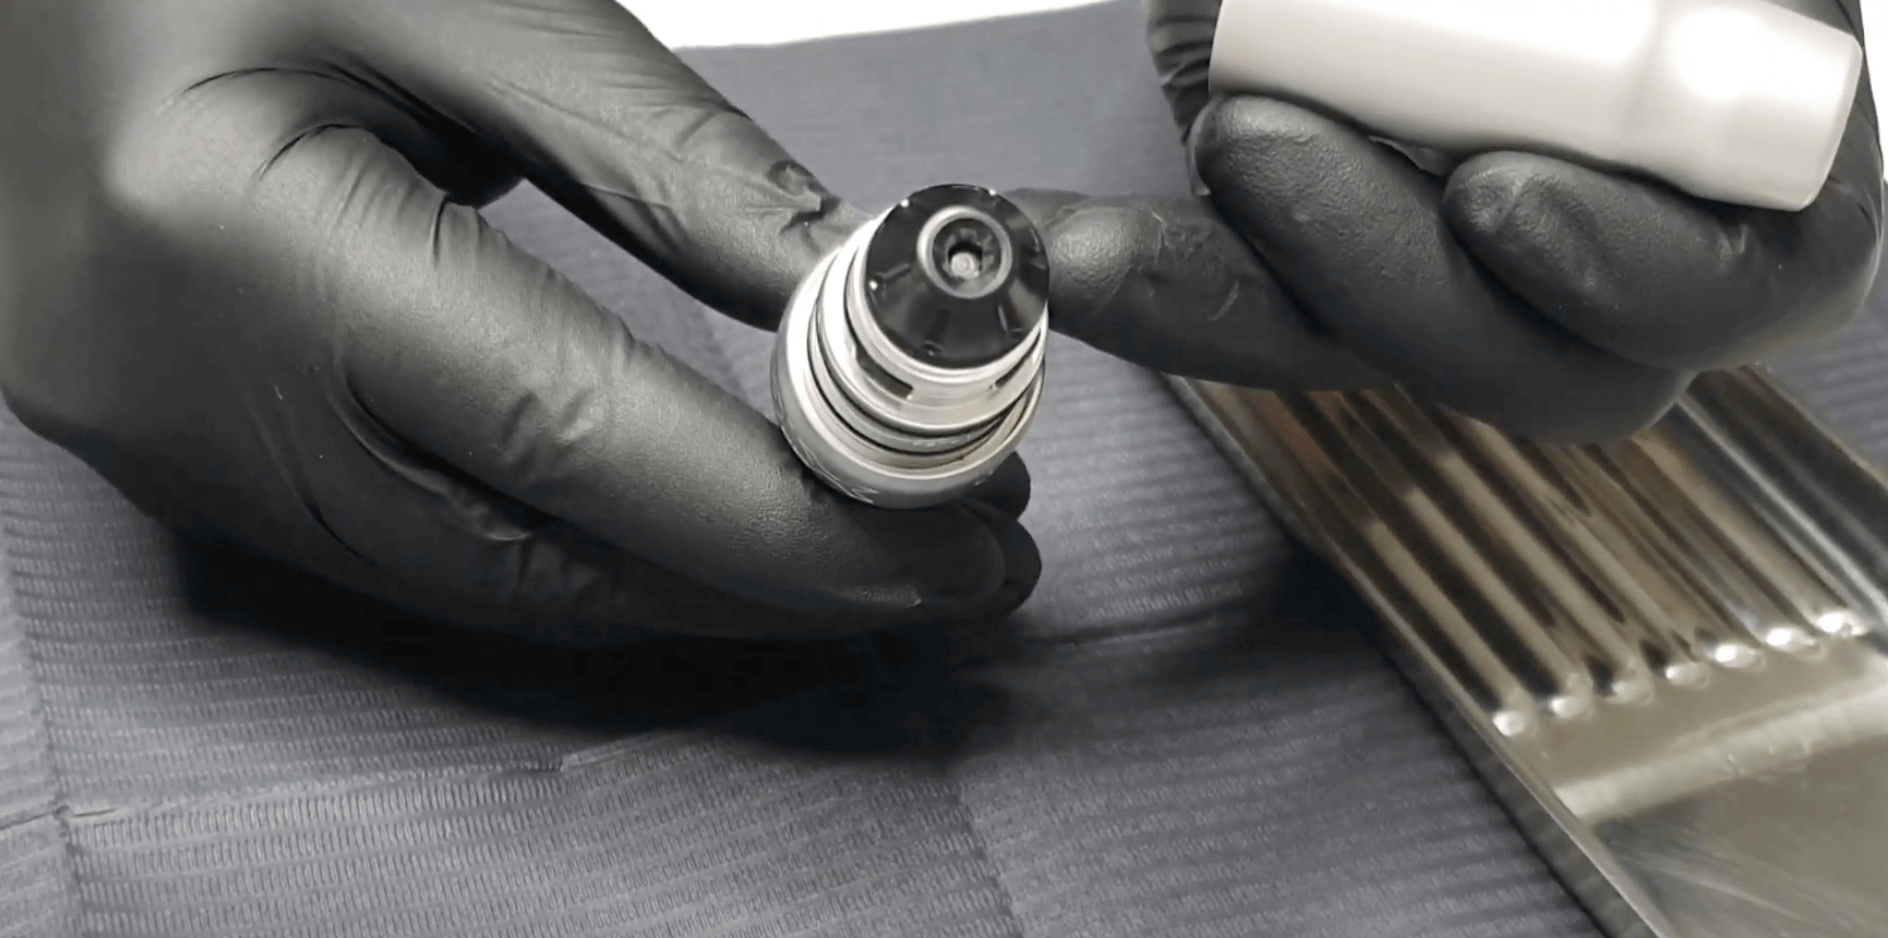
Step 2. Disassemble Your Machine
Carefully take apart your machine, removing the grip, needle, and any other removable parts. Be sure to refer to your machine’s manual for the correct way to disassemble it.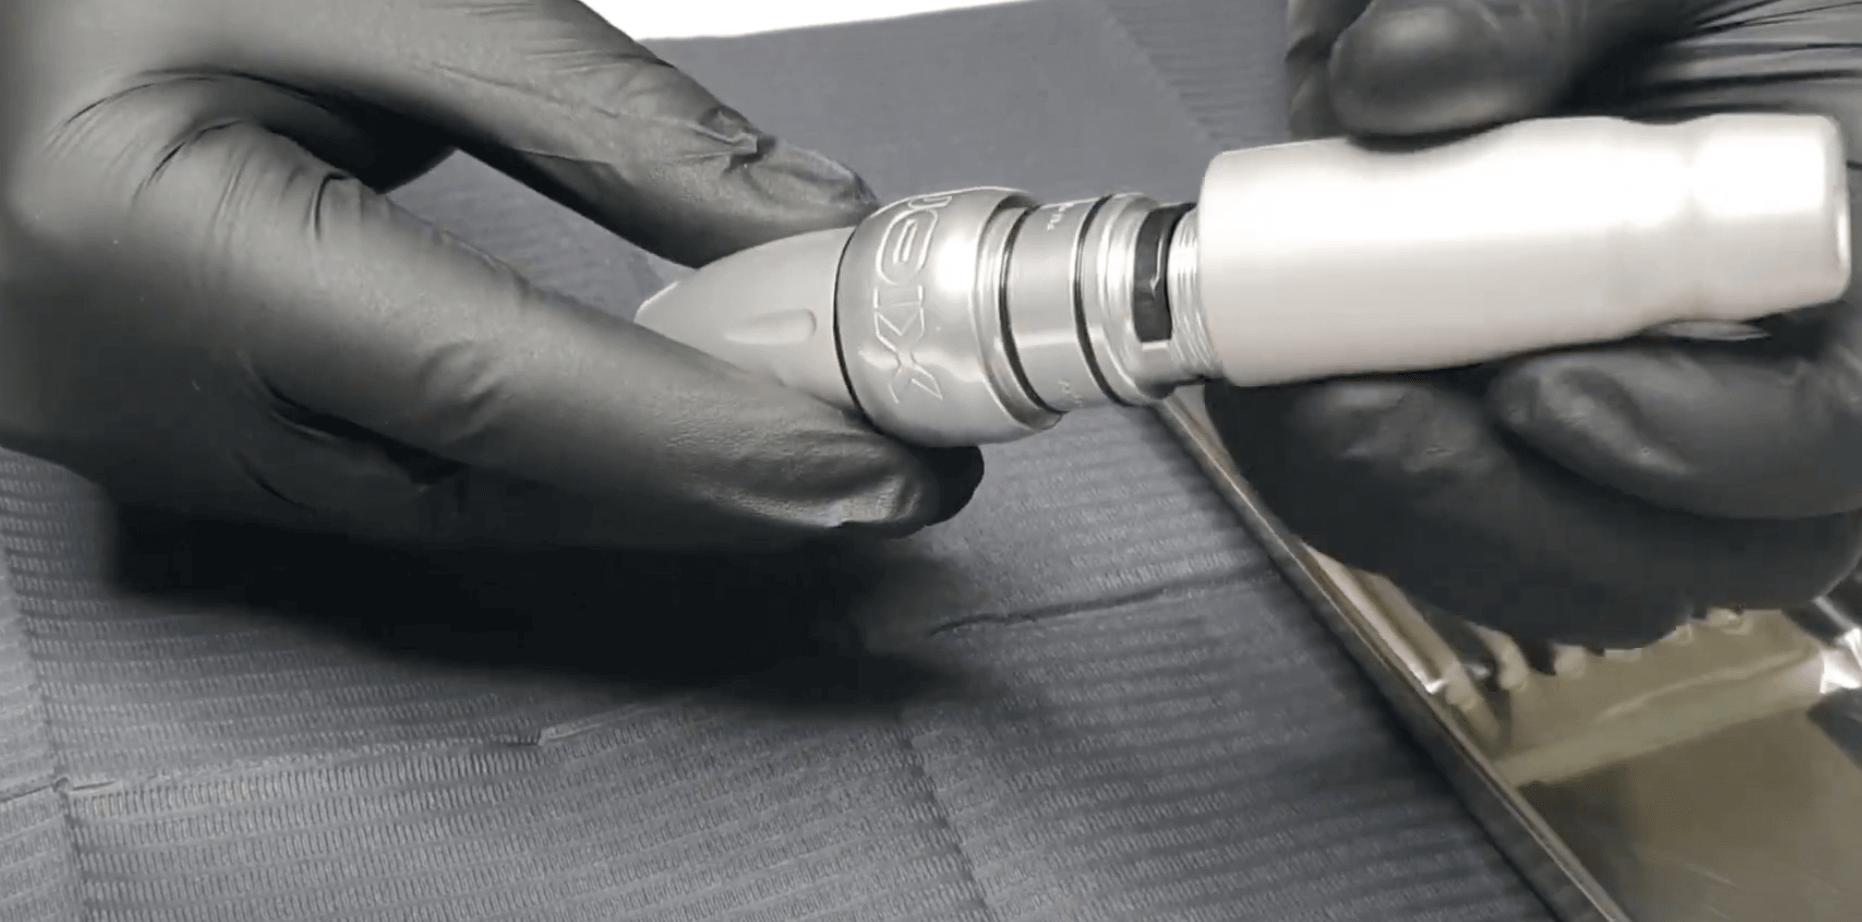
Step 3. Remove Ink Residue
Using a soft cloth or paper towel, gently wipe off any visible ink from the machine’s exterior and its parts. Use a disinfectant. Do not use harsh chemicals or abrasive materials, as they can damage the machine. Be sure to reach all the nooks and crannies. To get to the smallest details, use cotton swabs. Avoid immersing the machine body in water or any other liquid, as this could damage the machine’s internal components.Step 4. Sanitize the Parts
Once you have cleaned all the parts of the machine from dirt, you can move on to sanitizing it. To do this, use a sanitizing spray of your choice on the surface of the machine and its’ parts. Spray it on the removed part and let it dry for a good 10 minutes to maximize the effect. Then flip the equipment over and do the same. Repeat the process until you have sanitized all sides of the part. It’s important to sanitize not only the machine, but all the equipment you used during your session. This includes any reusable grips, cables and of course your power source, as well as your workstation, client chair (or holdall) and so on.Step 5. Autoclaving of tattoo equipment
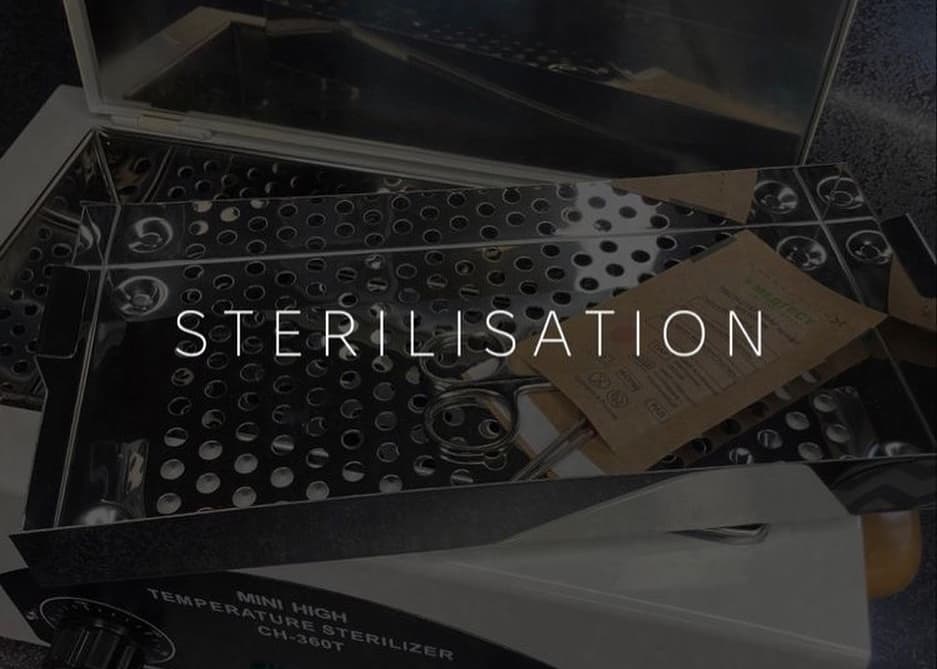
The most effective method for preventing cross-contamination and eliminating germs, viruses, and bacteria is autoclaving. While an autoclave doesn’t provide a 100% guarantee against contamination, it greatly reduces the risk, bringing it down to a minuscule 0.0001%. An autoclave works by sterilizing components from the inside out through a combination of high pressure, heat, and steam. High temperatures at elevated pressure create a destructive effect on various microorganisms and eliminate harmful bacteria and blood-borne diseases. However, tattoo machines can’t be autoclaved because the steam could penetrate the motor and damage it. If your tattoo machine has a removable motor, you can safely autoclave all other parts. If not, cold sterilization is your best alternative. For non-disposable grips, autoclaving is recommended as well. This is the only way to ensure your client’s safety. In sum, autoclaving is the most reliable and effective method for sterilizing tattoo equipment.So, what can’t be sterilized?
- Equipment with complex construction: tattoo machines, power supplies, wires, pedals. We carefully clean them with disinfectants and necessary barriers.
- Disposable consumables – we recycle them.
How to Sterilize Tattoo Equipment:
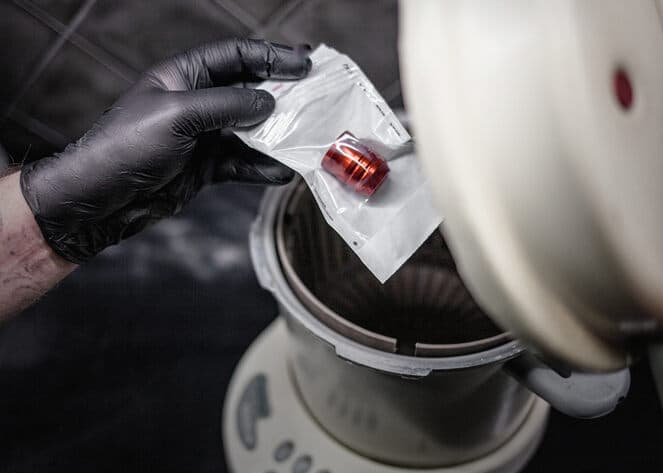
- Instruments to be sterilized (sterilization of grips, o-rings, tubes, and rods) are placed in special kraft bags
- And then be treated for at least one hour (or better 2 hours) at a temperature of at least 175 degrees Celsius. Kraft bags usually have built-in indicators that change color after successful sterilization.
- After successful sterilization, the instruments are date stamped and can then be used.
- While the equipment is in the kraft bag it is sterile, so they should not be opened before the session. You must open the kraft bag containing the sterile equipment immediately before you start working.
Step 7. Lubricate Your Machine
Apply a small amount of lubricating oil to the moving parts of your machine, according to the manufacturer’s instructions. This will help prevent wear and tear, reduce friction, and improve the machine’s performance.What is the difference between sterilization and disinfection?
Sterilization and disinfection are both methods of reducing the number of harmful microorganisms on surfaces, instruments, and environments, but they differ in their levels of effectiveness and the methods used. Disinfection is a process that eliminates many or almost all (up to 70%) pathogenic microorganisms on objects except viruses, fungi, and spores. It doesn’t achieve the same level of microbial kill as sterilization. Sterilization is a process that eliminates or destroys all forms of microbial life, including bacteria, viruses, fungi, and spores. This is the highest level of microbial kill. Sterilization can be achieved through various methods, including heat (autoclaving), chemicals (ethylene oxide gas), and radiation. It’s used for medical and surgical instruments, and in environments where absolute microbial control is required as tattooing.Other tips for the sterility of a tattoo artist’s workplace
Practice Proper Hand Hygiene Wash your hands with antibacterial soap and water before and after each tattoo session, and always wear disposable gloves.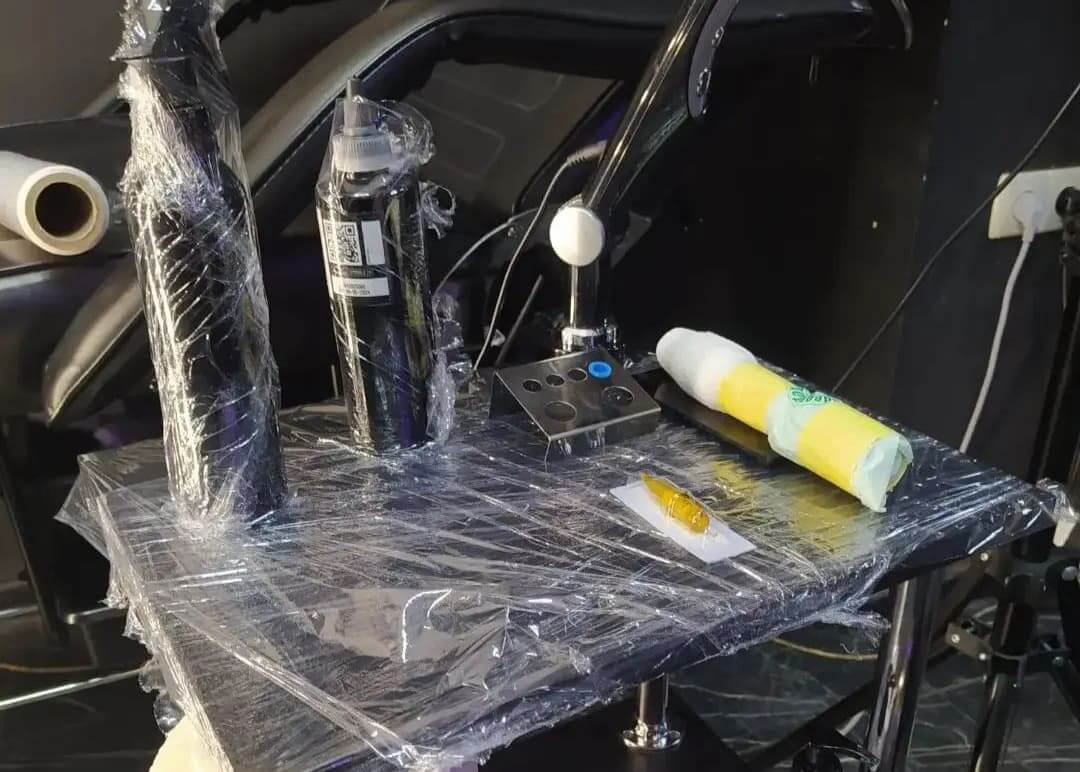 Cover Your Machine
Protect your machine from contamination by covering it with a disposable barrier, such as a plastic bag, during each tattoo session. Replace the barrier between clients.
Follow Local Regulations
Comply with local health and safety regulations regarding tattooing and body art. Keep your workspace clean, and dispose of waste materials properly.
Use Disposable Supplies
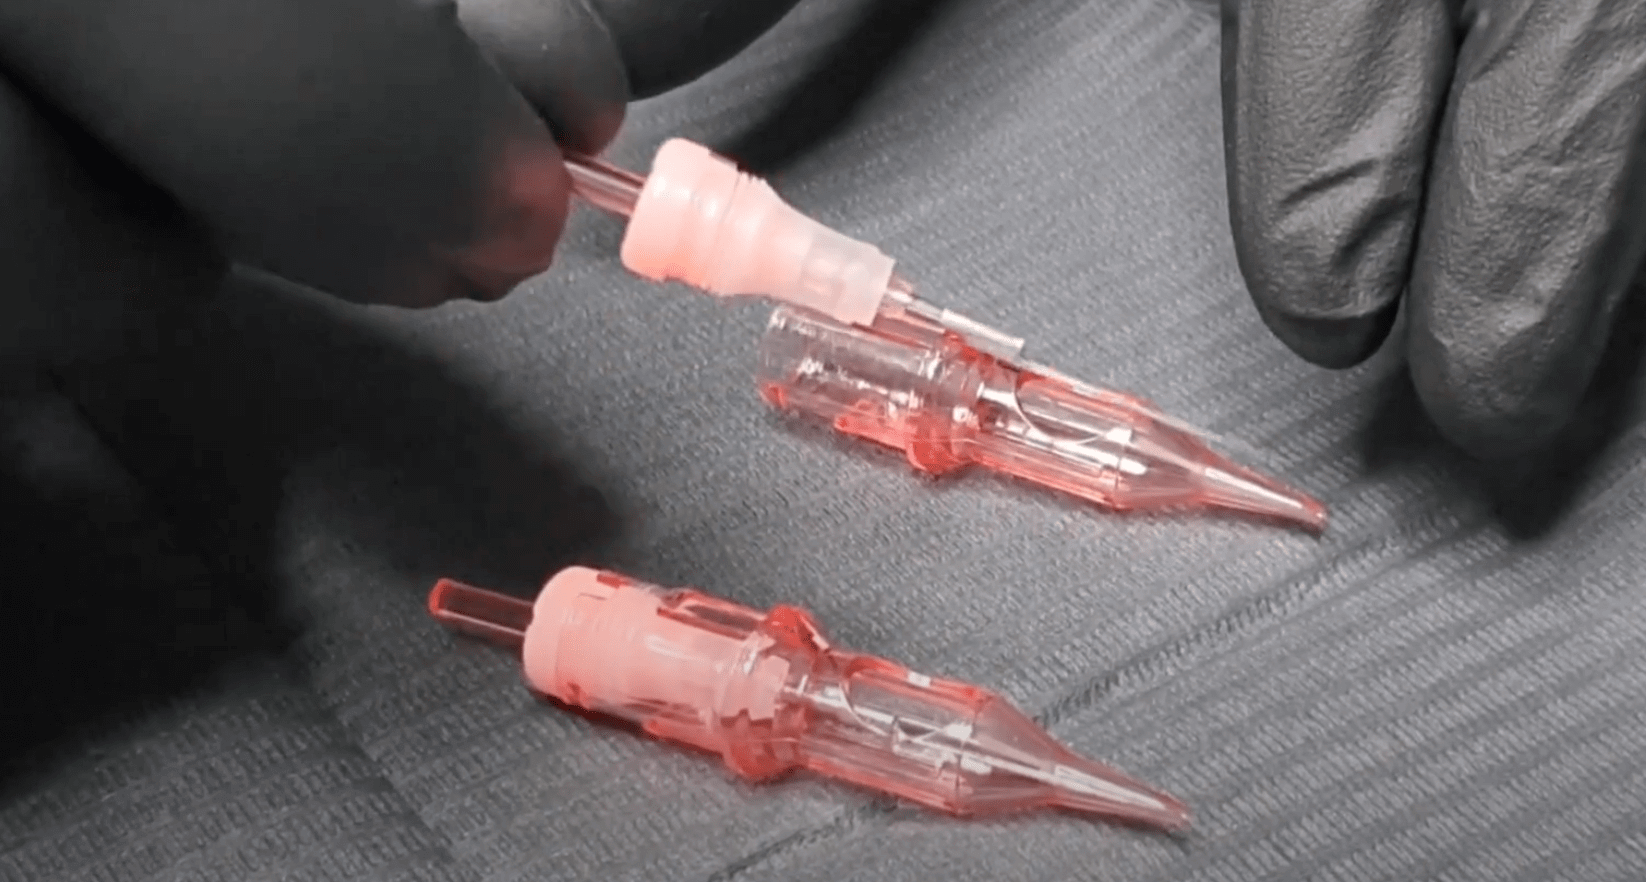
Use disposable supplies such as needles, grips, and tubes. This reduces the risk of cross-contamination and makes the cleaning process easier.
Membrane cartridges
Use membrane cartridges. The membrane is an additional barrier that can prevent cross-contamination.
Cover Your Machine
Protect your machine from contamination by covering it with a disposable barrier, such as a plastic bag, during each tattoo session. Replace the barrier between clients.
Follow Local Regulations
Comply with local health and safety regulations regarding tattooing and body art. Keep your workspace clean, and dispose of waste materials properly.
Use Disposable Supplies
Use disposable supplies such as needles, grips, and tubes. This reduces the risk of cross-contamination and makes the cleaning process easier.
Membrane cartridges
Use membrane cartridges. The membrane is an additional barrier that can prevent cross-contamination.
 Barrier film
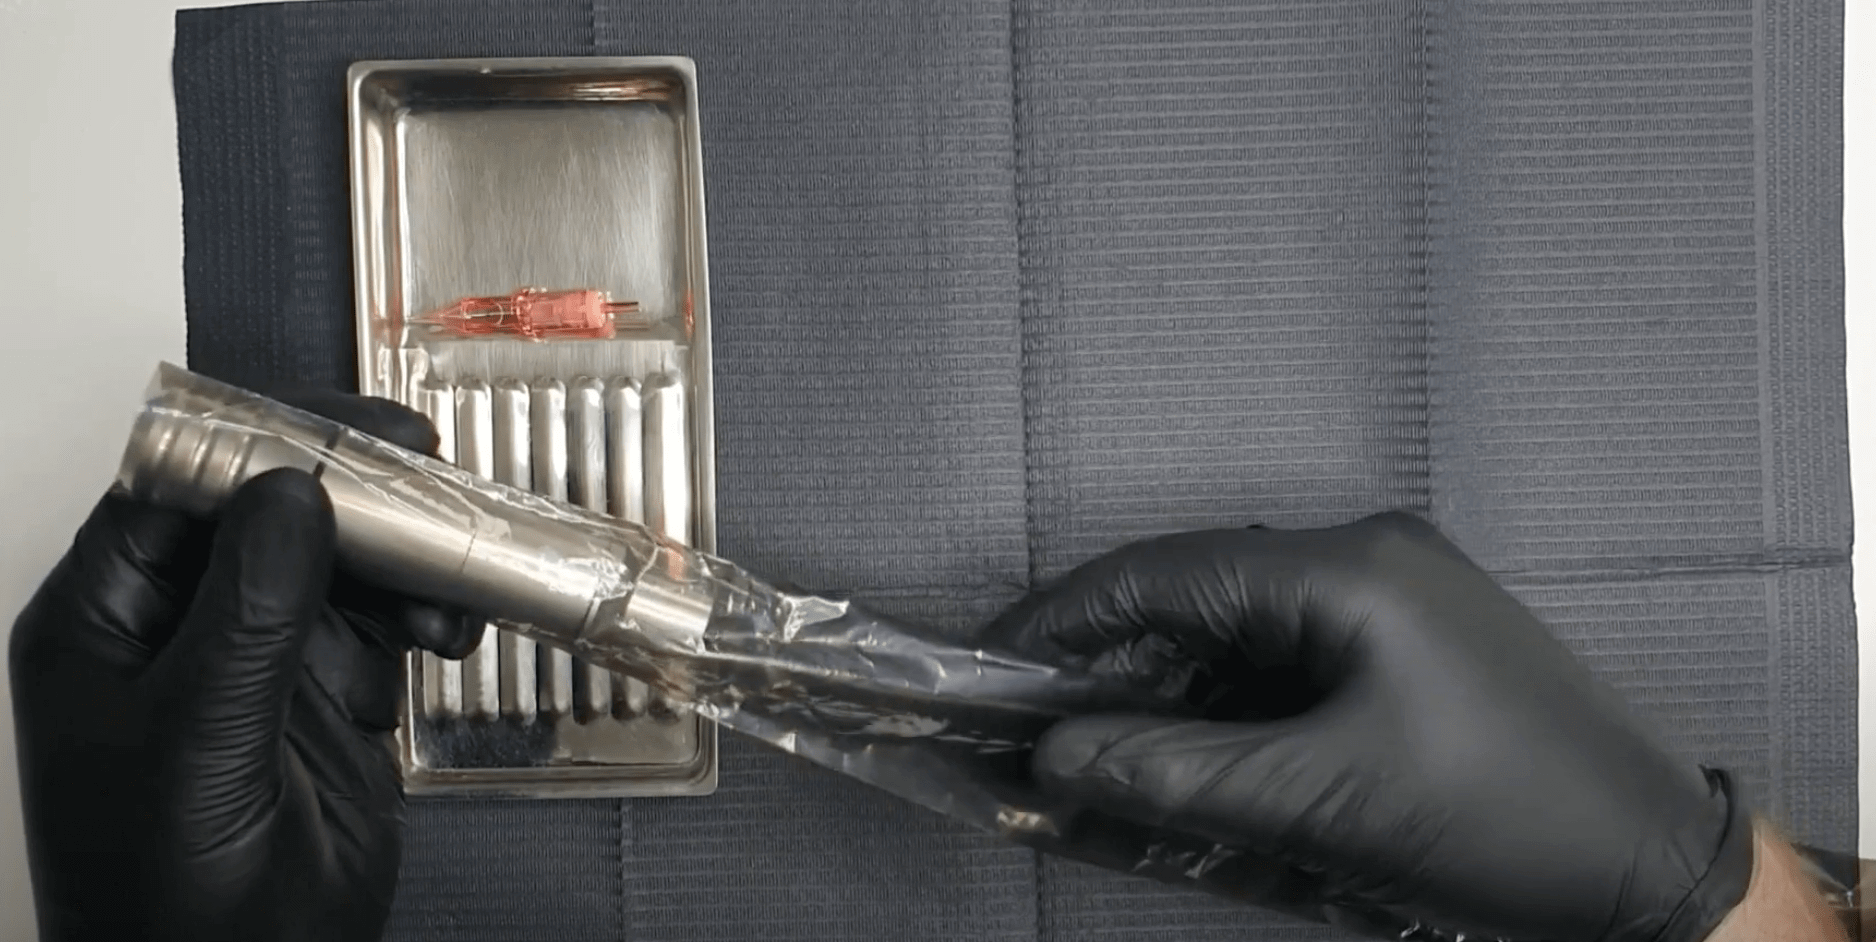
Your tattoo machine should always be packaged in a barrier guard so as not to contaminate the equipment with blood and body fluids. When placing the barrier on the machine, be sure to wrap the barrier around the grip and part of the power cord. Close the barrier tightly with a rubber band.
Barrier film
Your tattoo machine should always be packaged in a barrier guard so as not to contaminate the equipment with blood and body fluids. When placing the barrier on the machine, be sure to wrap the barrier around the grip and part of the power cord. Close the barrier tightly with a rubber band.
 Final words
In conclusion, cleaning the tattoo machine is a crucial part of providing a safe and enjoyable tattooing experience for your clients. Regular cleaning and maintenance will also prolong the life of your machine and ensure its optimal performance. Follow the steps outlined in this guide, practice good hygiene, and adhere to local regulations to ensure a successful tattooing career.
Final words
In conclusion, cleaning the tattoo machine is a crucial part of providing a safe and enjoyable tattooing experience for your clients. Regular cleaning and maintenance will also prolong the life of your machine and ensure its optimal performance. Follow the steps outlined in this guide, practice good hygiene, and adhere to local regulations to ensure a successful tattooing career.